CR-300 Brochure  

Spectroradiometer / Spectrophotometer

Features at a glance

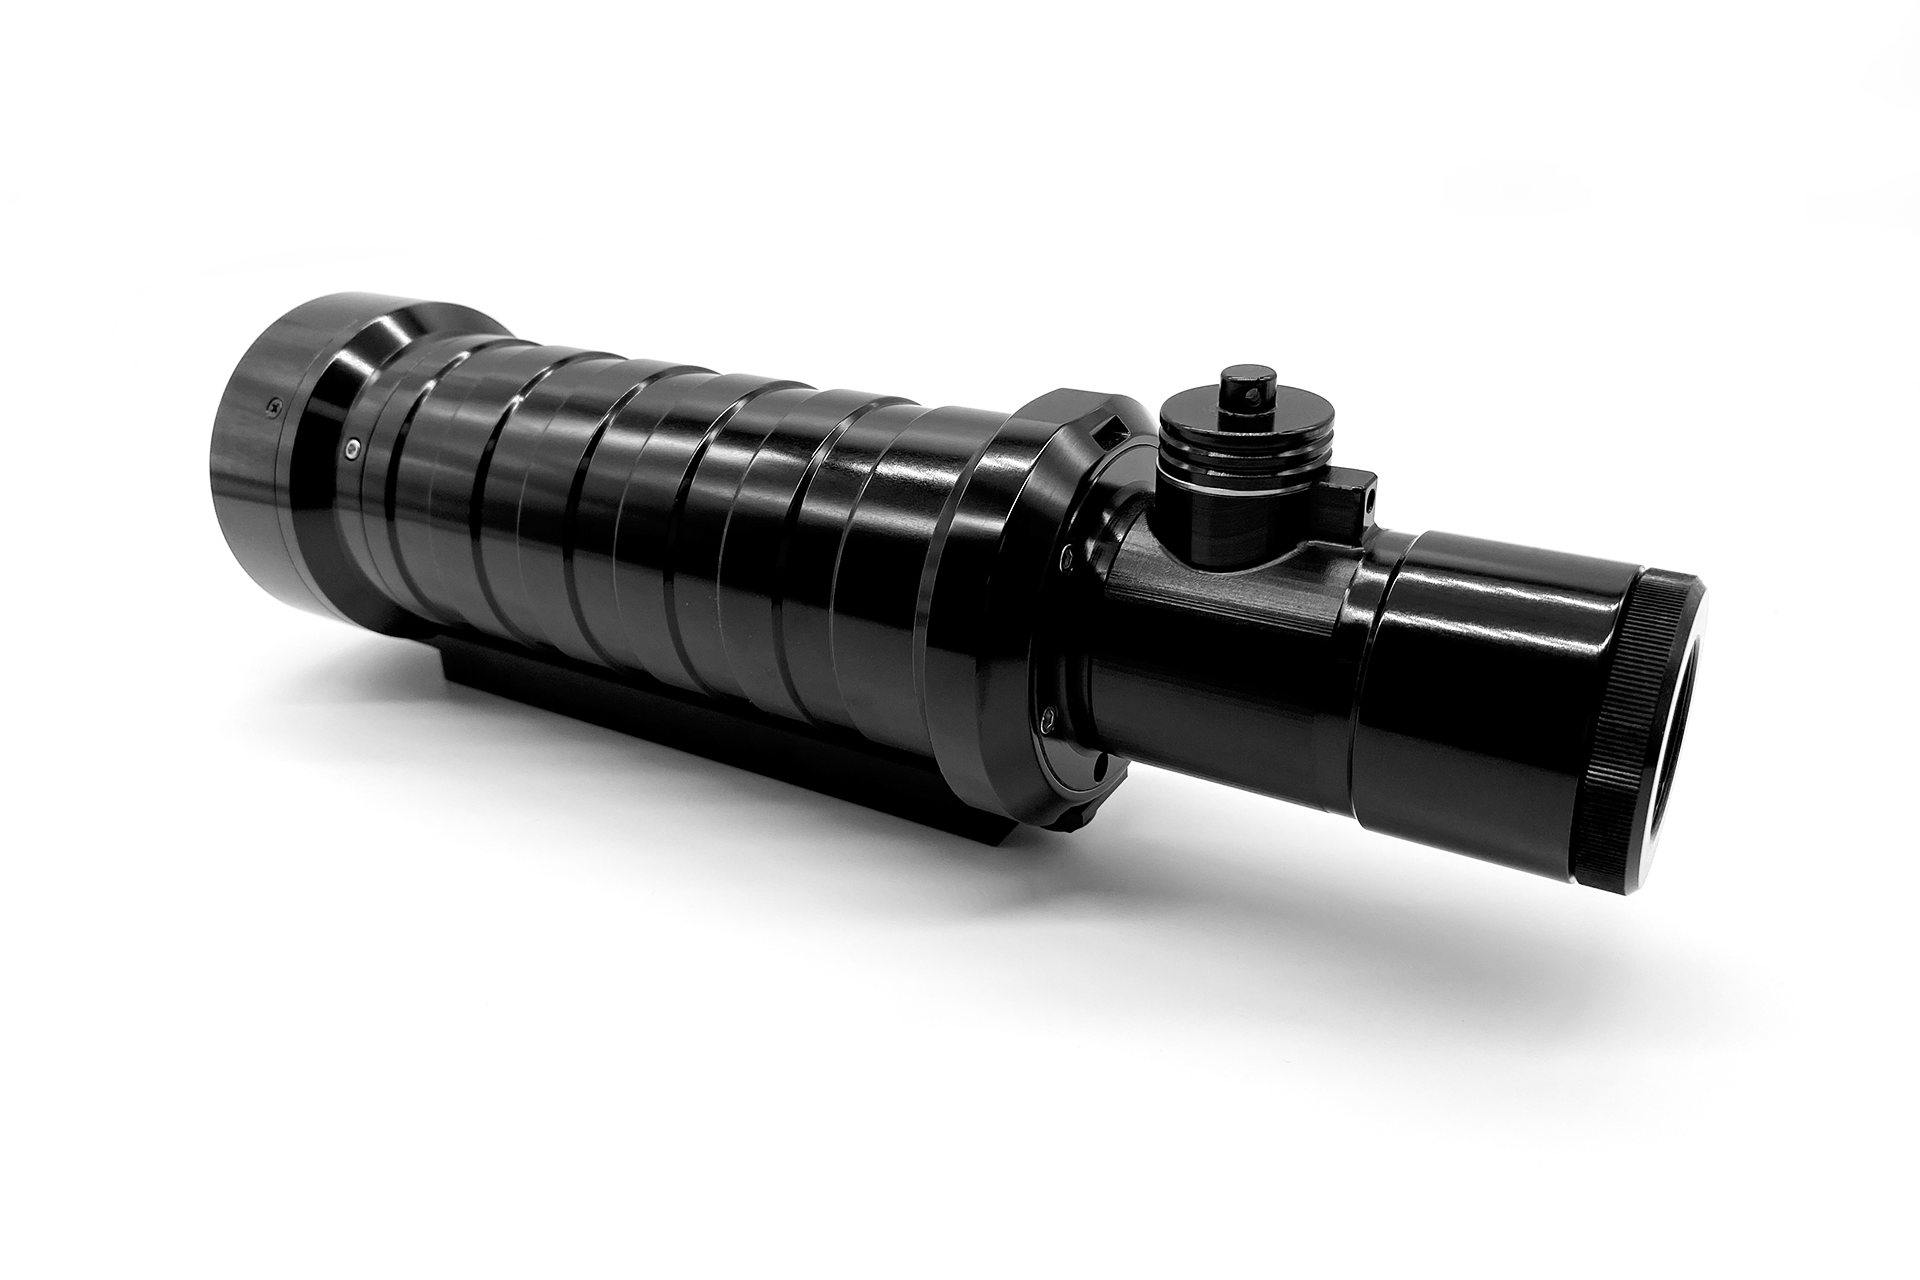
Compact & Rugged

Constructed using machined aluminium and stainless steel and weighs -

2.5 pounds (1.134 kg) [2.7 pounds (1.224 kg) with view finder VO-203].

Spectral Bandwidth & Accuracy

Visbile spectrum (380 - 780 nm) with a
  spectral bandwidth of 2 nm
  spectral resolution of 0.8 nm/pixel
  spectral accuracy of ± 0.3 nm

Custom Apertures

A single fixed aperture but can be customized when ordering (available at order time: 3°, 2°, 1°, 0.5°, 0.25°, 0.125°).

Detachable View Finders

Designed for View Finders that are easily detachable and replaceable from the instrument's main body.

Dynamic Range

Luminance range of 0.02 Nits to 154,000 Nits (0.006 fL to 46,000 fL) (measured with a NIST- traceable 2856 °K light source, using a 1° aperture)

Designed for PERFORMANCE

The ruggedly constructed housing of the CR-300 is made of machined aluminium and stainless steel, and can withstand high acceleration rates for the most demanding motion positioning systems and environments. All optical components are fixed to ensure that no optical misalignments occur due to vibration, shock or high acceleration/ deceleration rates.

It weighs only 2.5 pound (1.134 kg), and it is the perfect tool for display inspection and calibration and for mounting on fast moving XYZ tables. Its small size and shape allows for several CR-300s to be mounted in the same motion control system and the simultaneous measurement of several spots in the same display.

Versatile INTERFACE options

The CR-300 is a USB 2.0 compatible device, remotely controlled by the host software from any personal computer, laptop or net book. As an option, the CR-300 can also be controlled by an Ethernet 10BASET/100BASE-TX IEEE-802.3 compliant connection or a RS-232 port.

Optional EXTERNAL TRIGGER Port

The CR-300 can be equipped with an optional External Trigger Port which enables remote measurement activation from either a push button, a peripheral device, or by hardware trigger signals to measure strobes/pulsed lights, and start/stop signals. This option is ideal for fast temporal events that need to be precisely synchronized for measurement or data capture.

RUBBER HOOD

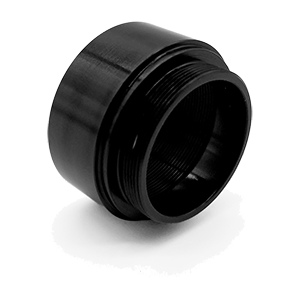
Screw-on rubber hood adapter is included for contact measurements. Measurement spot diameter on contact measurements is 8 mm for a unit that has a 2 degree aperture and 14 mm for a unit that has a 1 degree aperture.

Custom COLOR MATCHING FUNCTIONS

Future proof your CR-300 with additional custom color matching functions.

The CR-300 allows uploading up to three sets of custom CMF’s.This “custom” CMF’s can be alternate standards proposed by different organizations, such us Judd-Voss 1978 or custom CMF’s a researcher may be working on.

And lastly, Powerful application.

The CRIApp application is a streamlined, cross-platform, user-centric application designed to perform all colorimetric - based analysis. It provides a familiar and consistent workspace no matter which platform you are in. The CR-300 comes standard with a built-in, easy-to-learn command interpreter, for users to quickly create their own dedicated software to perform specific measurement tasks or for inclusion in an Automated Test Environment.

In addition, a fully documented communication language with numerous real-world, sample templates are included as starting points for customers to build their own software tools using any of the current development environments. LabVIEW driver is available upon request.

Calibration

All our instruments are calibrated using NIST traceable calibration standards at a color temperature of 2856 °Kelvins.

This is a standard calibration method used by most spectroradiometer manufacturers. In addition to the NIST traceable calibration standards we take pride in having developed proprietary Calibration and Quality Assurance processes that require a laboratory grade scanning double monochromator and high accuracy filters of known transmittance and chromaticity.

Essentially, no other spectroradiometers are used during manufacturing and Q.A. because none of them are as accurate as a laboratory grade scanning double monochromator.

The CR-300, when compared with most of the high end spectroradiometers in the market, has been found to be on par or to exceed in accuracy and performance.

The Colorimeter Utility is an accompanying tool that aids in updating, preserving and recovering the state of the instrument. It is also used to define a color correction based on the Four-Color Matrix Method Correction.

Options

Legend
  • Included standard with meter
  • Additional accessory (optional)
  • Must be calibrated with the meter

Specifications

Detector CMOS image sensor, 512 pixels
Spectral Range 380 - 780 nm
Spectral Bandwidth 2.0 nm
Spectral Accuracy ± 0.3 nm
Spectral Resolution 0.8 nm / pixel
Luminance Range 0.02 Nits to 154,000 Nits (0.006 fL to 46,000 fL)
Luminance Accuracy ±2 %Ω
Luminance Repeatability ≤1%Ω
Chromaticity Accuracy ± 0.0015 x, yΩ
Chromaticity Repeatability 0.0005 x, yΩ
Polarization Error ≤ 0.5 %
Digital Resolution 16 bits
Optics Direct viewing and direct measuring system
Objective Lens 40 mm
Focusing Range 200 mm to infinity
Aperture F(available at order time: 3°, 2°, 1°, 0.5°, 0.25°, 0.125°)
Field of View 10°
Viewing optics Patent pending removable and rotatable Viewfinder
Custom Synchronization 10 - 10000 Hz
Exposure Time Range 0.04 to 30 seconds
Power Requirements 5V, 120 mA (600 mW) via USB 2.0
Interface USB 2.0, Ethernet, RS-232
Weight / Mass Weight / Mass 2.5 pound (1.134 kg)
2.7 pounds (1.224 kg) with Viewfinder VO-203
Note:
  • When Custom Synchronization is selected, the user is required to enter the refresh rate or the on/off frequency of the device he is measuring. All the above measured with a NIST traceable 2856 °K light source.
  • Luminance Range, Accuracy and Repeatability and Chromaticity Accuracy and Repeatability are measured with a NIST- traceable 2856 °K light source, using a 1° aperture.
  • Sensitivities measured for 10:1 signal to noise (RMS).
  • Ω Measured with luminance level of 1.7 Nits (0.5 fL).
All specifications are subject to change.

Measurement spot size

Working Distance (mm) 3° Aperture (mm) 2° Aperture (mm) 1° Aperture (mm) 0.5° Aperture (mm) 0.25° Aperture (mm) 0.125° Aperture (mm)
2000 103.50 68.99 34.49 17.25 8.62 4.31
1500 77.30 51.53 25.76 12.88 6.44 3.22
1000 51.10 34.06 17.03 8.52 4.26 2.13
750 38.02 25.34 12.67 6.34 3.17 1.58
500 24.94 16.62 8.31 4.16 2.078 1.039
400 19.69 13.12 6.56 3.28 1.64 0.82
300 14.46 9.64 4.82 2.41 1.205 0.603
254 12.05 8.03 4.01 2.01 1 0.5
250 11.84 7.89 3.94 1.97 0.985 0.493
240 11.31 7.54 3.77 1.89 0.943 0.471
200 9.22 6.14 3.07 1.54 0.768 0.384
All specifications are subject to change.